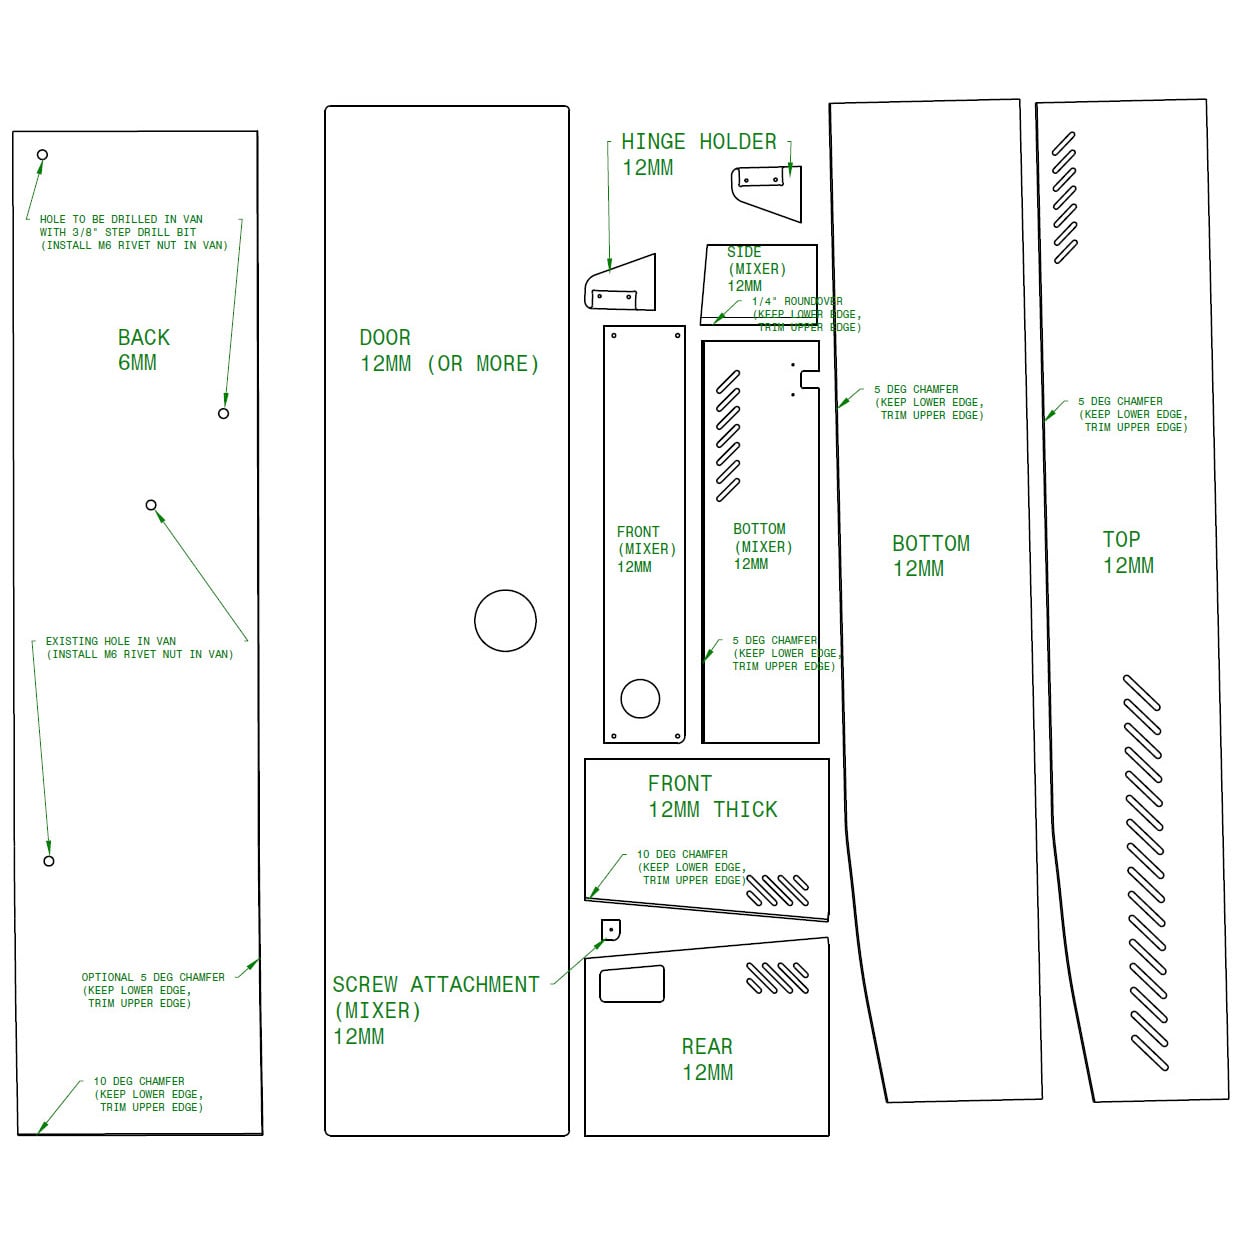
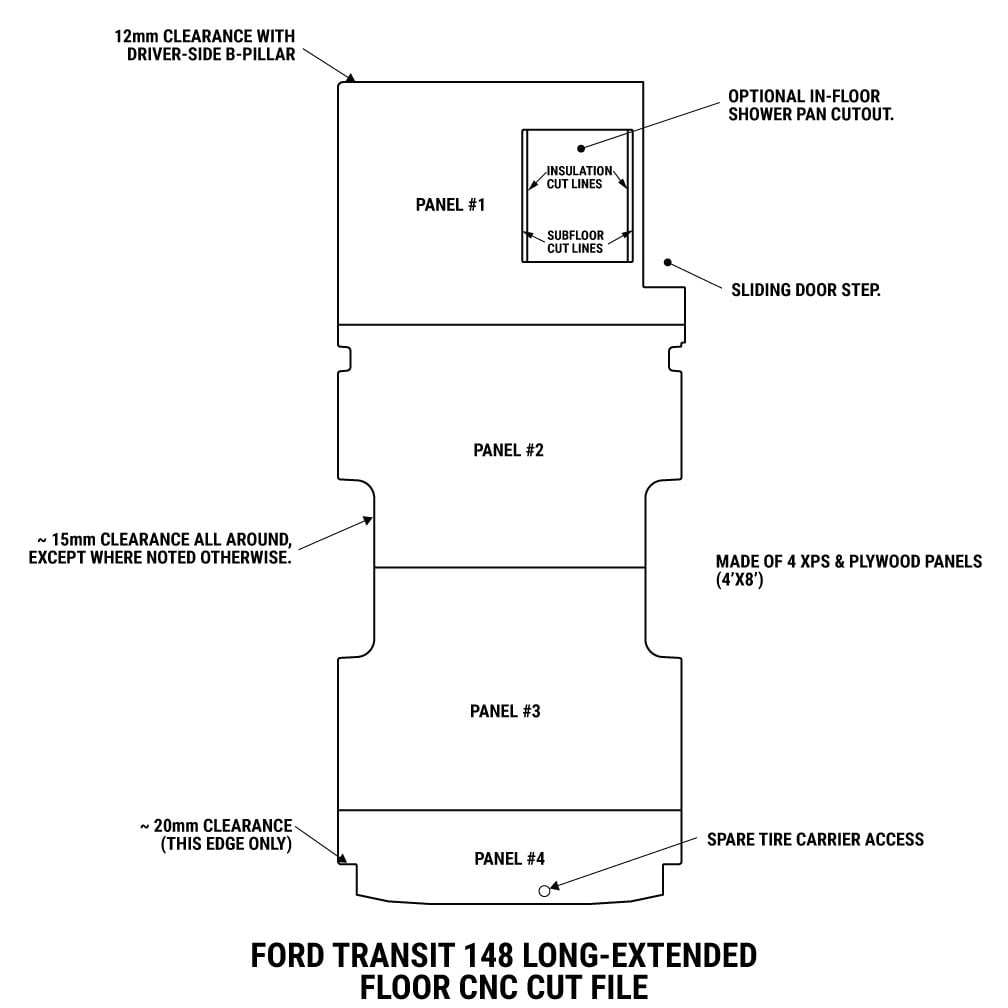
The details Read this BEFORE downloading the CNC file! Use this CNC cut file to replicate our floor per FarOutVan #2. To ensure a successful installation, you must read and understand this article, in which we document EVERYTHING: material, tools, how to fill the gap around the contour, fit the sliding door step, install the edge trims, etc.: DIY Van Floor – Insulation, Subfloor & Covering Install GuideBuild Journal Van #2 | Interior & Structurefaroutride.com/floor A few more things: Optional in-floor shower pan: TecVan.co We haven’t installed our shower system yet; we will document and publish all the details when done! But the plan is to have an overhead cabinet to store the curtain, shower head, etc., and to install this grey water tank under the floor. The depth of the shower pan is a bit over 1.5″, so the total floor thickness (insulation subfloor covering) must be more than that! The large gap around the contour (~15mm) is intentional to prevent the insulation from rubbing against the factory sealant, which would result in squeaking. This gap is then filled with Great Stuff and trimmed flush with the floor. We found this method to be less work than having a narrow gap and trying to cut the excess factory sealant! This download includes the .dxf file for CNC. DOWNLOAD Get the CNC Package and log in to unlock this download (and more)! �� DOWNLOAD Get the CNC Package and log in to unlock this download (and more)! �� We also include a Shower Pan Foam Support with this download. However, because each floor is different (adhesive thickness, material variations, etc.), it is YOUR responsibility to complete your floor, measure the actual thickness, and adjust the foam piece thickness accordingly to get adequate support. We provide the STEP file so that you can adjust it more easily. DOWNLOAD Get the CNC Package and log in to unlock this download (and more)! ��