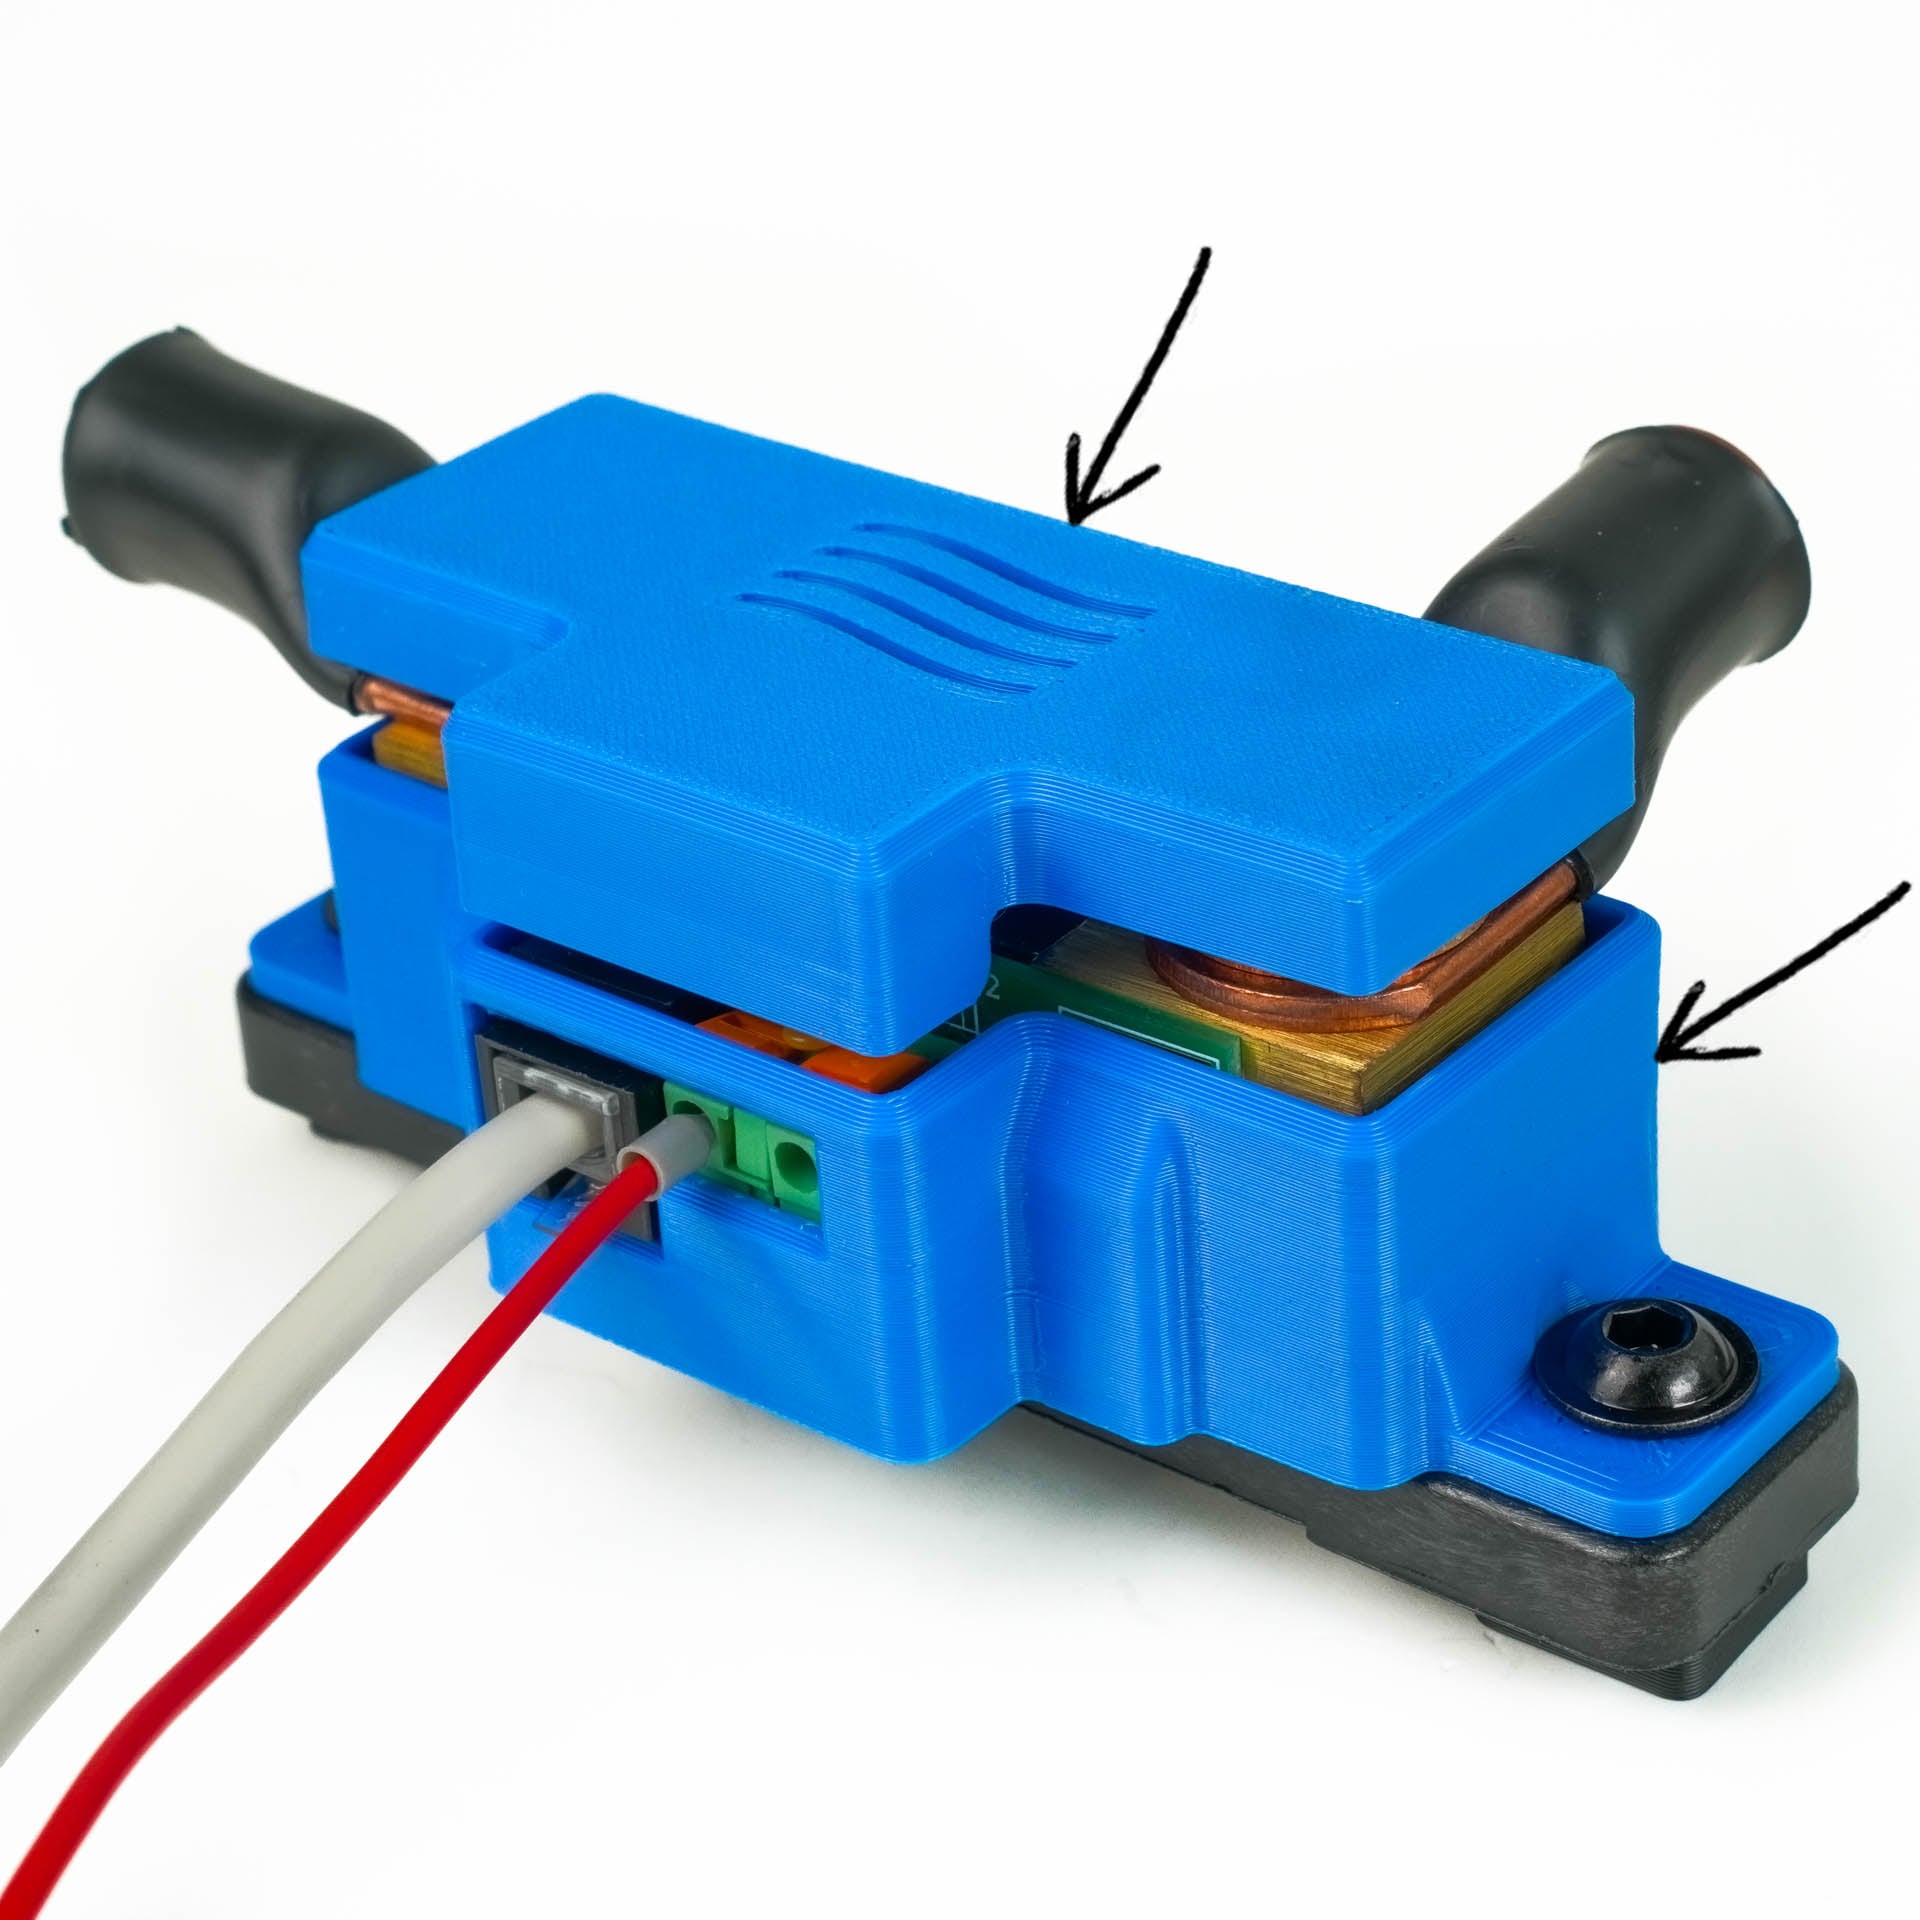
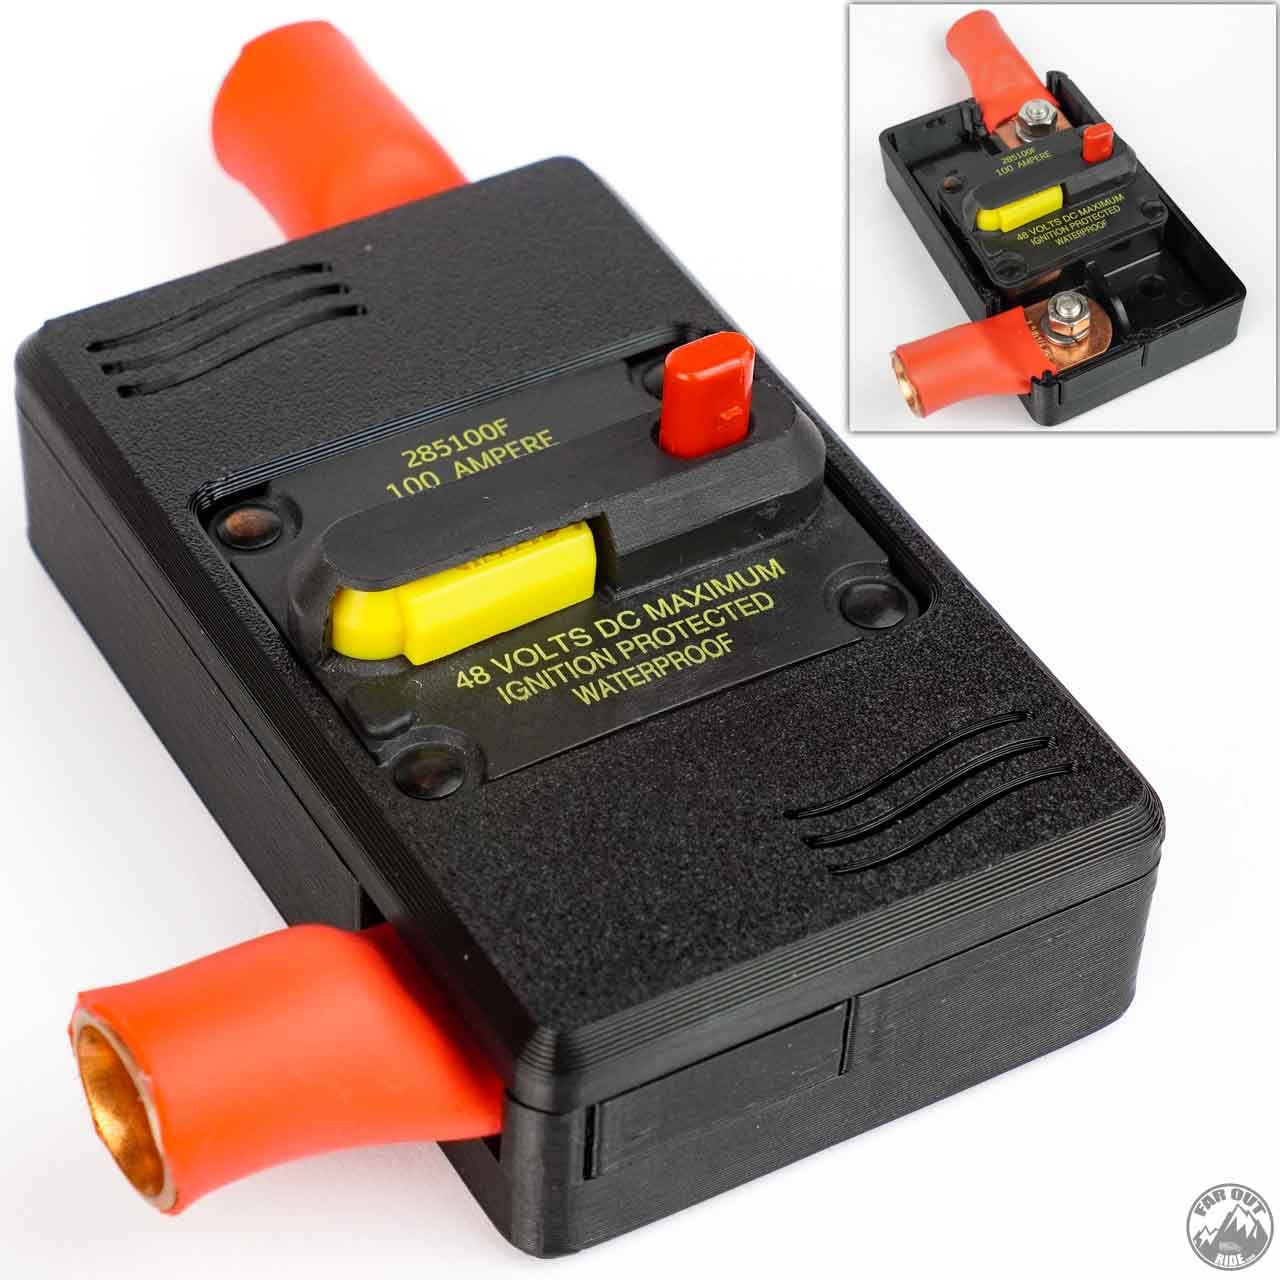
Surface Mount The enclosure can be mounted to any surface (vertical or horizontal) using two #6 flat head screws: Front (without cover) Back Snap-Fit Simply remove the soft-rubber caps attached to the breaker, push the breaker into the enclosure (snap-fit), then install the cover (snap-fit). No hardware needed! Modular The enclosure can accept cable up to 2/0 AWG and the modular plugs can be relocated to accept different cable routing: Safe With the cover in place and heat shrink tubing (not included), the terminals are isolated from the surroundings thus preventing accidental short circuiting: Reset Button & lever The breaker can be switched ON (“reset” yellow lever) or switched OFF (red button) without having to remove the cover: Compatibility Compatible with: Blue Sea 285 Circuit Breaker, Surface Mount (all current ratings 25A up to 150A) : See on Amazon. * The rubber caps must be discarded before fitting into the enclosure -> Blue Sea 285 Circuit Breaker (Surface Mount). See on Amazon. Specifications Outside Dimensions: 96mm x 59mm x 26mm (3.8in x 2.3in x 1.0in). Manufacturing: 3D Printed. Material: Blend of Polycarbonate (50%), PETG (45%) & others (5%). Temperature Resistance: Up to 110°C (230F), on par with marine wire insulation rating. Included: Enclosure (base & cover) with 2 modular plugs (breaker not included). Real World Application (FOrd Transit CCP2 Alternator Charging) In our wiring diagram, there is a breaker between the DC-To-DC charger and the starter battery (see the red arrow below): Per ABYC E-11 standards, breakers should be installed 7 inches from the charge source (measured along the wire). So we created an enclosure that allows us to install the breaker within that distance from the Ford Transit CCP2 (which is rated for 175A). Here is the wiring for FarOutVan2’s EcoFlow Power Kit (100A charge current): The breaker is installed on the Ford Transit driver seat pedestal, near the CCP2. Inspiration & Idea Exposed components (shunt, battery terminals, breakers, etc.) in our campervan make us feel a bit uncomfortable due to the risk of short circuit. Here’s why… Before installing the electrical system in our new van conversion, we are slowly working on designing and making enclosures and covers for the components we plan to use: It’s still a work in progress at the time of writing these lines, but we’ll add more to our Store as we go… Here is what we have so far: Shipping Ships From: British Columbia, Canada. Carrier: Canada Post / USPS. Cost: Actual carrier shipping rate calculated at checkout. You can combine other items from our Store to save on shipping. ABOUT THIS PRODUCT Do It Yourself. We couldn’t find a way to safely mount surface circuit breakers in our van, so we made one. This is an homemade product. Each enclosure is individually 3D printed, takes about 2 hours to complete, and requires manual labor. This is not a mass-produced product. This is a crafted, hand-made product. Low Volume. We created this product for our own needs, to make just a few units. There is no way for us to ramp up the production and lower the price, unless we take it to injection molding manufacturing but that’s a whole another level we’re not considering at the moment. Electrical System Design Guide You’ll find everything you need to design your own van electrical system in this guide: Electrical System Guide for DIY Van ConversionGuides | Electrical Systemfaroutride.com/electrical-system